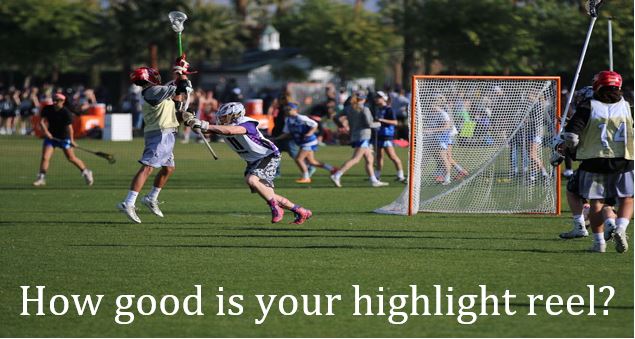
How good is your highlight reel?
Posted by SportsForce in College, High School, Lacrosse, Prep, Recruiting, Tips & Advice, tags: athlete video, athletic scholarship, College Coaches, college commitment, college game plan, college lacrosse recruiters., Education series, high school athletes, high school lacrosse, highlight reel, lacrosse advice, lacrosse coach, lacrosse recruiters, lacrosse video, student athlete, video advice
…and just what are you showing to college coaches?
Now that many of the club teams and tournaments are winding down until October, it’s important to capitalize on your summer experience. While many parents elect to purchase professional videos from the various events, the quality of the video is only one component of what makes an effective and attention-grabbing highlight reel.
In this installment of our College Game Plan Education series, we’ll provide some basic tips for creating and editing your game film to make the best impression on potential college lacrosse recruiters.
What you want to show
The goal with any highlight reel is to give college coaches an idea of how you can play the game and the special talents you believe set you apart. Whether it’s 1-on-1 defense, shooting, open-field speed, or FOGO skills, you want the reel to have a definite theme. Don’t get us wrong, you absolutely need to show more than one skill set, but you want your highlights to be a representation of your strongest attributes, allowing coaches to evaluate how you play and where you might fit in their program.
What you don’t want to show
Lacrosse is a flow sport, meaning that the action never really stops. Unlike football or baseball, where a “play” has a beginning and an end, lacrosse can thrust a player from offense to a loose ball to defense in a very short time. This makes editing clips very important. Factors like the quality of your competition, your demonstrated lacrosse IQ, and how you interact with your team may not jump out to a young player, but college coaches can take a lot from the fringes of your video. Typical examples of no-nos would be dodging through several defenders to score a goal despite open teammates, taunting the opposition, performing a solo celebration that is only about you, or passing up a good shot to go for a BTB or other “fancy” shot. If you drop the ball three times on your way to the goal or miss a pass before picking it up to score, the clip should only include the ground ball and the shot. And just as an FYI, coaches usually aren’t terribly impressed that you are good enough to try an advanced move in a game…if it didn’t work, don’t include it.
Sequencing your clips
The first 45 seconds of your video will likely dictate whether a coach watches the whole thing, so don’t bury your best clips or try to crescendo at the end. After you show your personal information, take the three most impressive examples of how you play and lead with them.
After these initial clips, start to mix in the other aspects of your game to show you have more than one dimension. Continue to pepper in the clips that support your general video theme, whether you’re presenting yourself as a scorer, feeder, ground ball specialist, or defender. Again, the best of these clips should be toward the front as well. For the remainder of the 3-4 minute highlight reel, simply mix in the various clips you have, but with the understanding that sometimes less is more, so don’t add extra clips to get to a certain video length if they don’t truly show your skill level or what you can do.
Guidelines for your highlight reel:
- Start with your name, class, school name, and club team (include GPA if 3.5+)
- The first few clips are your best…the “wow” clips that grab attention
- Scour your clips and edit to ensure you’re not showing anything undesirable
- Don’t exceed 3-4 minutes of clips
- Include your contact info and your coaches’ contact info
Most college coaches will request a video before they take the time to talk to you, so it’s very important to make sure you’re truly aware of what you’re presenting. Ask your coach to look at it and provide feedback before sending it out to college programs, make any suggested edits, and good luck!!


